-
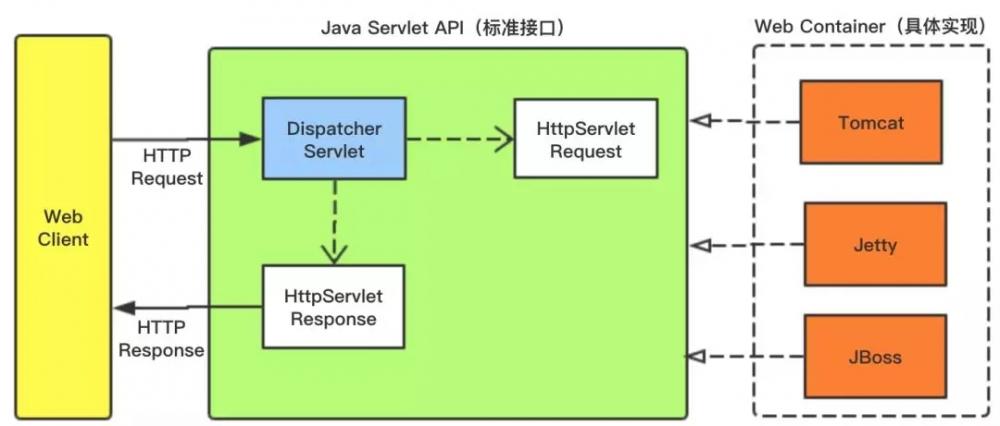
[置顶]软件接口设计怎么做?前后端分离软件接口设计思路
本文关于软件接口设计怎么做?前后端分离软件接口设计思路。好的系统架构离不开好的接口设计,因此,真正懂接口设计的人往往是软件设计队伍中的稀缺型人才。为什么在接口制定标准中说:一流的企业做标准,二流的企业...
-

[置顶]接口管理如何做?接口实现版本管理的意义和最佳方法
本文关于接口管理如何做?接口实现版本管理的意义和最佳方法。API版本管理的重要性不言而喻,对于API的设计者和使用者而言,版本管理都有着非常重要的意义。下面会从WEB API 版本管理的角度提供几种常...
-
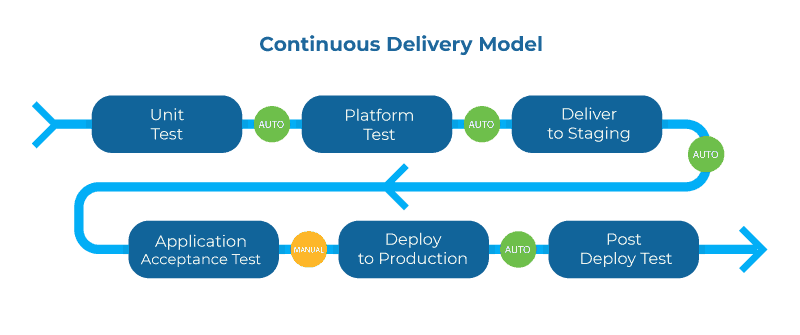
[置顶]实现API管理系统的关键
下面将通过几个关键词的形式说明API管理的重要性和未来的实现方式。1.生命周期管理在整个API生命周期中更深入地集成所有工具将进一步提高生命周期循环的速度,而且更重要的是提供满足消费者需求的API。这...
-
ImageUploader & Cropper
ImageUploader主要做的就是上传图片,监听了input的change事件,并调用了父组件Cropper的的handleImgChange方法,该方法设置了绑定到img元素的imageValue,会使得img元素出发load事件。
handleImgChange = e => {
let fileReader = new FileReader()
fileReader.readAsDataURL(e.target.files[0])
fileReader.onload = e => {
this.setState({...this.state, imageValue: e.target.result})
}
}
load事件触发了Cropper的setSize方法,该方法可以设置了图片和裁剪选择框的初始位置和大小。目前裁剪选择框是默认设置是大小为图片的80%,中间显示。
setSize = () => {
let img = this.refs.img
let widthNum = parseInt(this.props.width, 10)
let heightNum = parseInt(this.props.height, 10)
this.setState({
...this.state,
naturalSize:EPPtHnOEI {
width: img.naturalWidth,
height: img.naturalHeight
}
})
let imgStyle = img.style
imgStyle.height = 'auto'
imgStyle.width = 'auto'
let principalStyle = ReactDOM.findDOMNode(this.refs.selectArea).parentElement.style
const ratio = img.width / img.height
// 设置图片大小、位置
if (img.width > img.height) {
imgStyle.width = principalStyle.width = this.props.width
imgStyle.height = principalStyle.height = widthNum / ratio + 'px'
principalStyle.marginTop = (widthNum - parseInt(principalStyle.height, 10)) / 2 + 'px'
principalStyle.marginLeft = 0
} else {
imgStyle.height = principalStyle.height = this.props.height
imgStyle.width = principalStyle.width = heightNum * ratio + 'px'
principalStyle.marginLeft = (heightNum - parseInt(principalStyle.width, 10)) / 2 + 'px'
principalStyle.marginTop = 0
}
// 设置选择框样式
let selectAreaStyle = ReactDOM.findDOMNode(this.refs.selectArea).style
let principalHeight = parseInt(principalStyle.height, 10)
let principalWidth = parseInt(principalStyle.width, 10)
if (principalWidth > principalHeight) {
selectAreaStyle.top = principalHeight * 0.1 + 'px'
selectAreaStyle.width = selectAreaStyle.height = principalHeight * 0.8 + 'px'
selectAreaStyle.left = (principalWidth - parseInt(selectAreaStyle.width, 10)) / 2 + 'px'
} else {
selectAreaStyle.left = principalWidth * 0.1 + 'px'
selectAreaStyle.width = selectAreaStyle.height = principalWidth * 0.8 + 'px'
selectAreaStyle.top = (principalHeight - parseInt(selectAreaStyle.height, 10)) / 2 + 'px'
}
}
Cropper上还有一个getCropData方法,方法会打印并返回裁剪参数,
getCropData = e => {
e.preventDefault()
let SelectArea = ReactDOM.findDOMNode(this.refs.selectArea).style
let a = {
width: parseInt(SelectArea.width, 10),
height: parseInt(SelectArea.height, 10),
left: parseInt(SelectArea.left, 10),
top: parseInt(SelectArea.top, 10)
}
a.radio = this.state.naturalSize.width / a.width
console.log(a)
return a
}
SelectArea
重新放一遍selectArea的结构。要注意,.top-resize的cursor属性是 n-resize,而和left,right,bottom对应的分别是w-resize,e-resize,s-resize
selectArea的state值设为这样,selectArea保存拖拽选择框时的参数,resizeArea保存裁剪选择框时的参数,container为.image-principal元素,el为触发事件时的event.target。
this.state = {
selectArea: null,
el: null,
container: null,
resizeArea: null
}
拖拽选择框
在.select-area按下鼠标,触发mouseDown事件,调用dragStart方法。
使用method = e => {}的形式可以避免在jsx中使用this.method.bind(this)
在这个方法中,首先保存按下鼠标时的鼠标位置,裁剪框与图片的相对距离和裁剪框的最大位移距离,接着添加事件监听
dragStart = e => {
const el = e.target
const container = this.state.container
let selectArea = {
posLeft: e.clientX,
posTop: e.clientY,
left: e.clientX - el.offsetLeft,
top: e.clientY - el.offsetTop,
maxMoveX: container.offsetWidth - el.offsetWidth,
maxMoveY: container.offsetHeight - el.offsetHeight,
}
this.setState({ ...this.state, selectArea, el})
document.addEventListener('mousemove', this.moveBind, false)
document.addEventListener('mouseup" alt="一个基于react的图片裁剪组件示例" title="一个基于react的图片裁剪组件示例" width="200" height="150">
-

-

-

-

-

-

-
-

-


